Disclosure: This article contains affiliate links. As an Amazon Associate and partner with other affiliate programs, we earn from qualifying purchases at no additional cost to you. We only recommend products we genuinely believe in. Learn more.
First Time International Travel: Complete Beginner’s Guide for 2026
Your first international trip is genuinely one of the most exciting things you can do. It’s also one of the most bewildering to plan. This guide covers everything from getting your passport to handling your first jet-lagged morning in a foreign city — in the right order.
Step 1: Get Your Passport (Earlier Than You Think)
The US State Department recommends applying at least 6 months before travel. Processing times have stretched to 10-13 weeks for routine applications, with 5-7 weeks for expedited (add $60) — and that’s before mailing time.
What you need:
- Form DS-11 (first-time applicants) — fill out online, print, do NOT sign before appearing in person
- Proof of citizenship (birth certificate with raised seal, or naturalization certificate)
- Government-issued photo ID
- Passport photo (2x2 inches, specific requirements — many post offices and pharmacies do them)
- Fees: $130 application + $35 execution fee
Where to apply: Post offices, libraries, clerks of court, travel agencies — find your nearest acceptance facility at travel.state.gov.
Pro tip: Apply now even if you don’t have a trip booked. Having a passport opens doors and removes a major planning barrier.
Step 2: Research Entry Requirements for Your Destination
Not all destinations are equally easy to enter as a US citizen. Some require:
- Visa on arrival: Pay a fee at the airport (Thailand, Cambodia, Egypt) — bring cash (sometimes USD required)
- e-Visa: Apply online before travel (India, Turkey, Kenya, Sri Lanka) — do this weeks ahead
- Visa in advance: Apply at the consulate (Russia, China, some others) — requires time and paperwork
- Visa-free: Most Western Europe, Japan, many others — just your passport
Always check:
- The State Department’s country information page for your destination
- The destination country’s own immigration website
- Passport validity requirements — many countries require 6 months validity beyond your travel dates
Step 3: Book Flights Strategically
When to Book
For international flights, the sweet spot is typically 2-6 months in advance. Too early and prices are inflated; too late and you’re paying panic prices.
Use These Tools
- Google Flights: Set up price tracking alerts for your route. The flexible date grid is invaluable.
- Skyscanner: Good for seeing the cheapest days to fly across a whole month
- Hopper: Predicts price direction and tells you whether to book now or wait
Practical Booking Tips
- Fly mid-week — Tuesdays and Wednesdays are typically cheaper than weekends
- Consider nearby airports — flying into CDG vs. ORY (Paris), or LGW vs. LHR (London) can save hundreds
- Layover in hub cities can dramatically cut costs — a stop in Reykjavik or Doha often adds only 3-4 hours but saves $300-500
Step 4: Choose and Book Accommodation
Types of Accommodation for First-Timers
Hotels (3-4 star) — Safest and most predictable for beginners. You know what you’re getting, there’s someone at the front desk, and they often help with logistics.
Hostels — Dramatically cheaper ($15-45/night), and the social aspect is genuinely great if you’re traveling solo. Modern hostels often have private rooms that are cheaper than hotels while offering common spaces to meet people.
Airbnb — Good for longer stays and having a kitchen. Vetting hosts takes work, but neighborhood immersion is unbeatable.
Booking Tips
- Use Booking.com with free cancellation options for flexibility
- Stay centrally located for your first trip — transport costs and time add up
- Read recent reviews (last 3 months), not just the overall score
- Check the neighborhood on Google Maps street view before booking
Step 5: Plan Your Money
This is where first-timers often lose unnecessary money.
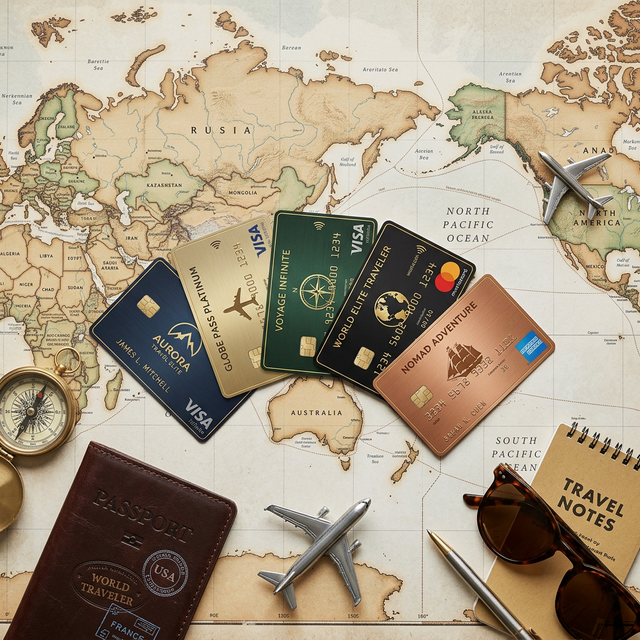
Get a No-Foreign-Transaction-Fee Card
This is non-negotiable. Using a regular credit card abroad typically costs 2-3% on every transaction. Better options:
- Charles Schwab Debit Card — Refunds all ATM fees worldwide. Excellent for cash access.
- Capital One Venture / Quicksilver — No foreign transaction fees
- Wise Prepaid Card — Excellent exchange rates, low fees
ATMs vs. Currency Exchange Counters
- Use local ATMs at your destination — you’ll get near-interbank exchange rates
- Avoid airport exchange counters — rates are typically 8-15% worse than ATMs
- Never use Dynamic Currency Conversion — when an ATM or merchant offers to charge you in your home currency, always decline; it’s a hidden markup of 3-5%
Budget Framework
A rough daily budget framework for common destinations (excluding accommodation):
| Destination | Budget | Mid-range | Comfortable |
|---|---|---|---|
| Southeast Asia | $25-40 | $60-90 | $120+ |
| Eastern Europe | $35-55 | $70-100 | $150+ |
| Western Europe | $60-90 | $100-160 | $200+ |
| Japan | $50-80 | $100-150 | $200+ |
| North Africa | $30-50 | $70-100 | $130+ |
Step 6: Pack Smart
The universal rule of experienced travelers: pack light, then remove 30% more.
The All-in-One-Bag Method
Many experienced travelers (including myself, after a decade of mistakes) travel with just a single carry-on backpack for trips up to 2 weeks. Benefits:
- Never pay baggage fees
- Never lose luggage
- Move through airports dramatically faster
- No waiting at baggage claim
Recommended size: 40L maximum for carry-on. The Osprey Farpoint 40 or similar packs qualify as carry-on on most airlines.
The Packing List
Clothing (for 7-10 days, using laundry):
- 5-6 tops (technical fabrics dry overnight)
- 2 bottoms (one casual, one smarter)
- 1 light jacket / layer
- 1 rain layer if needed
- Underwear / socks for 5-7 days
Documents:
- Passport (6+ months validity)
- Copies of everything in your email and a physical backup
- Travel insurance documents
- Credit/debit cards (bring 2, keep separately)
- Emergency contacts written down (not just in your phone)
Tech:
- Universal power adapter (Type C covers most of Europe; buy per-region for Asia/Africa)
- Portable power bank
- Headphones
Step 7: Handle the Flight
The Night-Before Checklist
- Check in online (opens 24 hours before, earlier for some airlines)
- Download boarding pass (and take a screenshot — works offline)
- Charge all devices
- Set 2 alarms
At the Airport
- Arrive 3 hours early for international flights (not 2 — international security and customs add time)
- Have your travel documents easily accessible — you’ll need your passport at check-in, security, and sometimes at the gate
- Clear security with: laptop out, liquids (100ml max per item, in a clear bag) out, jacket off, shoes off (USA always, many other countries too)
On the Plane
- Hydrate aggressively — airplane cabins are extremely dry (10-20% humidity). Drink water constantly, avoid alcohol if possible.
- Set your watch/phone to destination time immediately — start your mental adjustment now
- Try to sleep on long-haul flights — use an eye mask, earplugs, and neck pillow
- Get up and walk every 2-3 hours on flights over 8 hours — reduces DVT risk
Step 8: Arrive and Navigate
Your First 30 Minutes on the Ground
- Immigration / passport control — have your passport ready, and know your accommodation address
- Baggage claim (if checked) — keep your boarding pass until you have your bag
- Customs — declare what you need to (food, large amounts of cash, goods over limits)
- Transport to accommodation — research this in advance; taxis from airports are often rip-offs; trains and metro usually vastly cheaper
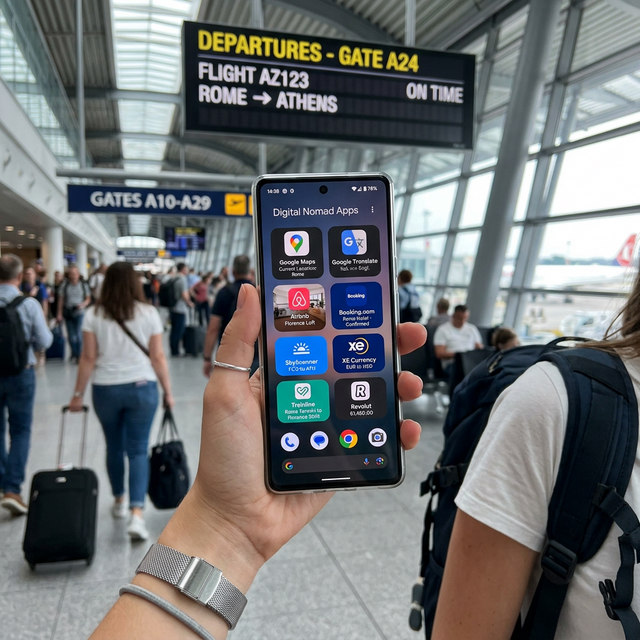
Get a Local SIM or Enable International Plan
Top priority after clearing customs. Options:
- Airport SIM kiosk — fast but often more expensive; fine for short trips
- Local convenience store SIM — cheaper, requires a few minutes setup
- eSIM (Airalo, Holafly) — activate before departure, no physical card needed; my preferred method now
Without data, you lose access to maps, translation apps, and transport bookings — the tools that make unfamiliar cities navigable.
Common First-Timer Mistakes to Avoid
-
Overpacking an itinerary — factor in travel time, slower pace, and unexpected detours. Plan 70% of what you think you can do.
-
Skipping travel insurance — one emergency evacuation can cost $50,000-200,000.
-
Not informing your bank — cards get blocked without notice. Call before you leave even if you added a travel notice online.
-
Converting currency at the airport — rates are 8-15% worse. Use the ATM.
-
Assuming English is everywhere — download offline Google Translate with the destination language before you leave. The camera translation feature is genuinely magic.
-
Forgetting time zone differences for reservations — restaurant bookings made in local time, flights noted in departure-city time by default.
-
Carrying only cash or only cards — carry both. Some places only take cash; some only take cards.
-
Not photographing your passport — email a copy to yourself and/or store it in cloud storage.
The First Morning
Allow yourself to be a bit lost and overwhelmed on your first morning abroad — it’s completely normal and part of the experience. Have a slow breakfast, walk without a specific destination, observe. The anxiety of newness fades quickly, usually within 24-48 hours, and then travel becomes exactly what everyone says it is: transformative.
The hardest part is getting on the plane. Everything after that takes care of itself more than you’d expect.

Senior Travel Writer & Gear Expert
Sarah Chen has spent 12 years traveling full-time, visiting 68 countries across 6 continents — including 14 countries in Southeast Asia alone. A former Lonely Planet contributor and travel editor at Away Magazine, she specializes in budget-first travel, solo female travel, and hands-on gear testing. Sarah has personally tested 40+ travel backpacks, 20+ neck pillows across long-haul routes (London–Tokyo, NYC–Cape Town), and 15+ luggage brands across cobblestone cities and international airports. Her gear picks are grounded in real-world use, not spec sheets.

Join the Conversation